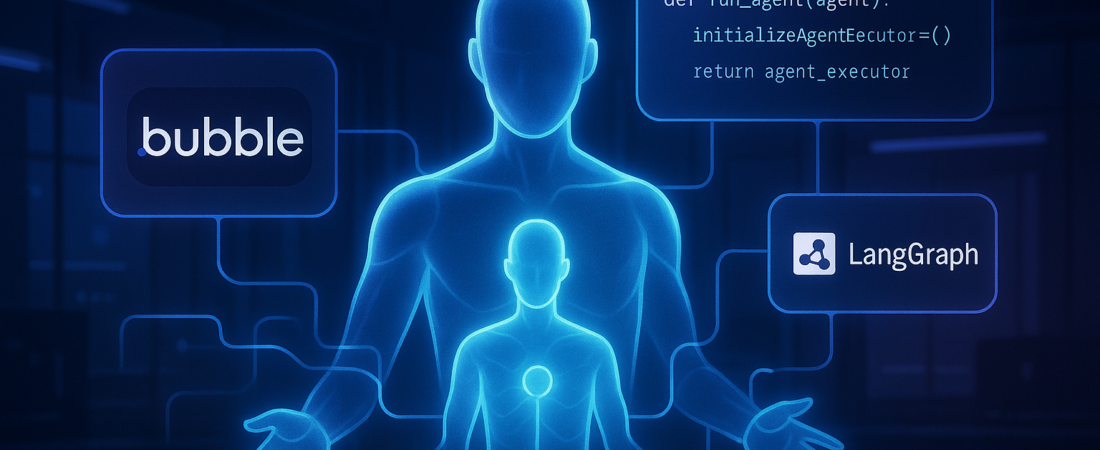
Building a chatbot in Bubble is easy. Building an autonomous agent that can actually do things—like issue refunds, manage database state, or perform complex research without crashing your workflow—is where most no-code founders hit a brick wall.
The hard truth? Bubble’s native plugin architecture isn’t designed for the “thinking” phase of agentic AI. If you want your app to do more than just spit out text, you need to move the brain outside of the Bubble editor.
| Attribute | Details |
| :— | :— |
| Difficulty | Advanced (Requires API & Backend Logic) |
| Time Required | 4–8 Hours for Initial Setup |
| Tools Needed | Bubble.io, LangGraph, Python/FastAPI, Server-Sent Events (SSE) |
The Why: Why Your “Chatbot” is Failing
Most Bubble developers treat AI like a high-speed autocomplete. They send a prompt to OpenAI, wait 10 seconds for a response, and display the result. This works for simple Q&A, but it fails for agentic workflows.
When an AI needs to “call a tool”—like checking a user’s subscription status or updating a CRM—Bubble’s linear workflows become a bottleneck. You can’t easily maintain state across a multi-step investigation, and you certainly can’t “pause” a workflow to wait for a human to approve a sensitive action. To build enterprise-grade AI, you need a backend that supports persistence and human-in-the-loop (HITL) capabilities. Many developers are realizing that specialized AI agents are required to handle these niche, high-productivity tasks effectively.
Step-by-Step: Architecting a “Real” Agent Backend
To move from a simple chatbot to a robust agent, you need to decouple your logic. Here is how to build a professional-grade LangGraph backend for your Bubble app.
- Spin up a dedicated Python Backend: Use FastAPI or Flask to host your AI logic. This is where you’ll implement LangGraph. Unlike a standard script, LangGraph allows you to define the AI’s logic as a state machine, tracking what it has done and what it needs to do next. This transition toward agentic workflows is the only way to bridge the gap from simple prototypes to fully autonomous enterprise systems.
- Define Tool Schemas: Don’t just give the AI access to everything. Define specific JSON schemas for actions like
Get_User_DataorProcess_Refund. The agent uses these to know exactly what parameters it needs to request from your Bubble database. - Implement Server-Sent Events (SSE): Abandon the standard API Connector for long-running tasks. Use SSE to stream the agent’s “thought process” back to Bubble in real-time. This eliminates the dreaded loading spinner and builds user trust by showing the agent working through steps.
- Create a “Wait for Approval” State: In LangGraph, set a breakpoint before high-risk tools. The agent will save its state and stop. You then trigger a Bubble notification to the admin. Once the admin clicks “Approve,” Bubble sends a POST request back to the backend to resume the agent’s thread exactly where it left off. This ensures proper AI governance and prevents the “black box” execution errors common in unsupervised models.
- Bridge the Gap with Custom Elements: Build a simple Bubble plugin element that listens for the SSE stream. This allows you to update your UI dynamically as the agent progresses through its graph.
💡 Pro-Tip: Don’t pass massive amounts of data back and forth between Bubble and your AI backend. Instead, pass a User_ID or Record_ID. Let the Python backend fetch the necessary data via the Bubble Data API. This keeps your agent’s context window clean and reduces token costs.
The “Buyer’s Perspective”: LangGraph vs. Native Plugins
If you’re looking at the Bubble Marketplace, you’ll see dozens of “AI Assistant” plugins. Most are wrappers for the OpenAI Assistants API. While these are fine for MVP-level prototypes, they are “black boxes.” You have limited control over the reasoning steps and almost no ability to intervene mid-process. As the industry moves toward GPT-5.5 autonomous agents, the shift from simple chatbots to digital employees requires this level of architectural control.
Building a custom LangGraph backend is significantly more complex, but it offers predictability. In a professional setting, “hallucinations” aren’t just annoying; they’re liabilities. By moving to a graph-based backend, you can force the AI to follow specific paths and require human verification for sensitive operations. The trade-off is higher development time and the need for a separate server (like Railway or Heroku), but for a scaling SaaS, it’s the only way to ensure reliability.
FAQ
Q: Can’t I just use Bubble’s new Workflow Engine for this?
A: Bubble’s internal workflows are great for CRUD operations, but they lack the ability to handle the non-linear, recursive “reasoning loops” that agents require. You’ll end up with a “spaghetti” workflow that is impossible to debug.
Q: Is SSE hard to implement in Bubble?
A: It requires a custom plugin or a script in the HTML header. It isn’t native, but it’s the only way to avoid 30-second timeouts on complex AI tasks.
Q: How do I handle security between Bubble and my Python backend?
A: Use API Keys and header-based authentication. Ensure your Python backend only accepts requests from your Bubble app’s IP or verifies a signed token (JWT) from the user. It is critical to follow agentic AI security best practices, such as using a runtime harness, to protect your infrastructure from unauthorized shell commands or prompt injections.
Ethical Note/Limitation:
While agentic backends significantly reduce errors, they cannot entirely eliminate the risk of an AI misinterpreting a tool’s output; therefore, mission-critical actions should always require a final human signature.